Grahm asked for Harry Potter wands for Christmas. Jason and I could not even think of buying the plastic model and I was not going to shell out the money for the nice wood version.
I know there are lots of tutorials out there. I might have even done mine the same way as someone else, without realizing it. I read a tutorial that made the wands out of paper and decided that paper would save my kiddos eyes, but be broken in .5 seconds. So I used the ideas, but used very long chopsticks as the base. One day Jason will have time to carve some, but by then they will have moved on to other interests.
How to make your own Harry Potter Wand:
You will need:
Chopsticks in desired length (mine are 13" long)
Heavy duty scissors
Hot glue (lots of it)
Hot glue gun
Fine grit sandpaper (120, 150, or higher)
Spray Primer
Craft paints in desired colors
Spray clear coat
Jar
beans or rocks
Opt: Kitchen torch
Step 1: Cut off the sharp point of the chopsticks. There was no science behind how much I took off. I didn't want the ends too sharp.
Step 2: Lightly sand the finish off of the chopsticks.
Step 3: Warm up your glue gun. You will start applying glue where every you want it. I started on the handles. I put some on and then kept rotating the chopstick to keep the glue from dripping off or forming any shape I didn't like. I rotated it in a circle, end to end. Just keep it moving. You will get the hang of how the glue is going to act and you will be able to manipulate it to get the shape you like. If you end up with something you don't like you can easily rip off the glue at this point. Or grab you kitchen torch and warm the glue back up (it is okay if it browns a little on the outside). Keep adding glue until you are happy with it. (I fell in love with hot glue again.) For the Elder Wand, I used a plastic chopstick dipped in water (too keep the glue from sticking to it) and as the glue cooled I poked the glue to make indention's.
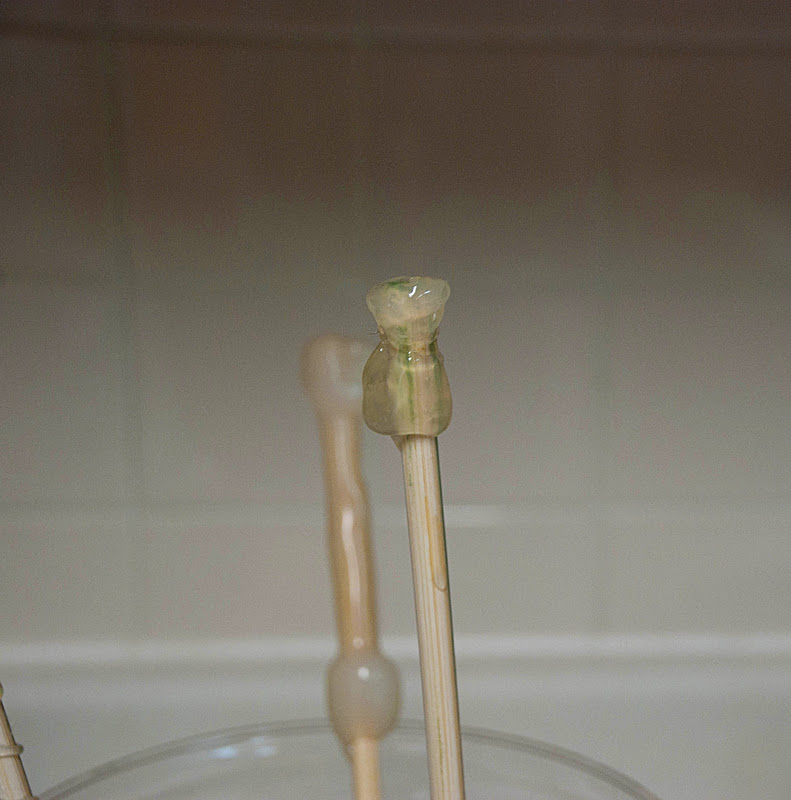
When you are happy with it, place in jar with beans or rock to keep the glue from resting on anything until completely cooled.
In the picture you can see the Harry Potter wand in the back and the beginnings of the Elder Wand.
Step 4: After you have the shape you want take it outside and place in jar with beans and spray with a primer. After it is dry you can take it out and hold it while you spray the end.
Step 5: Use the craft paint to paint your wands as you desire. To darken the grooves, wait until the base coat is completely dry and then dab darker paints in the grooves and quickly wipe off excess before you soften the base layer. Use lighter colors and darker colors to mimic the look of real wood. It is hard to see in the pictures.
Step 6: Place in jar of beans outside and spray a clear coat to protect your hard work. Again, hold it to spray the end after the handle is dry.
We still have not had any accidents with our wands. The kids enjoy playing and casting spells.