Showing posts with label sew. Show all posts

Thursday, September 24, 2015

Tie On Highchair*****Update*****

There has been a recent increase in interest in this post.  I have attempted to add instructions to help those wanting to create their own.  Please let me know if you need more info.

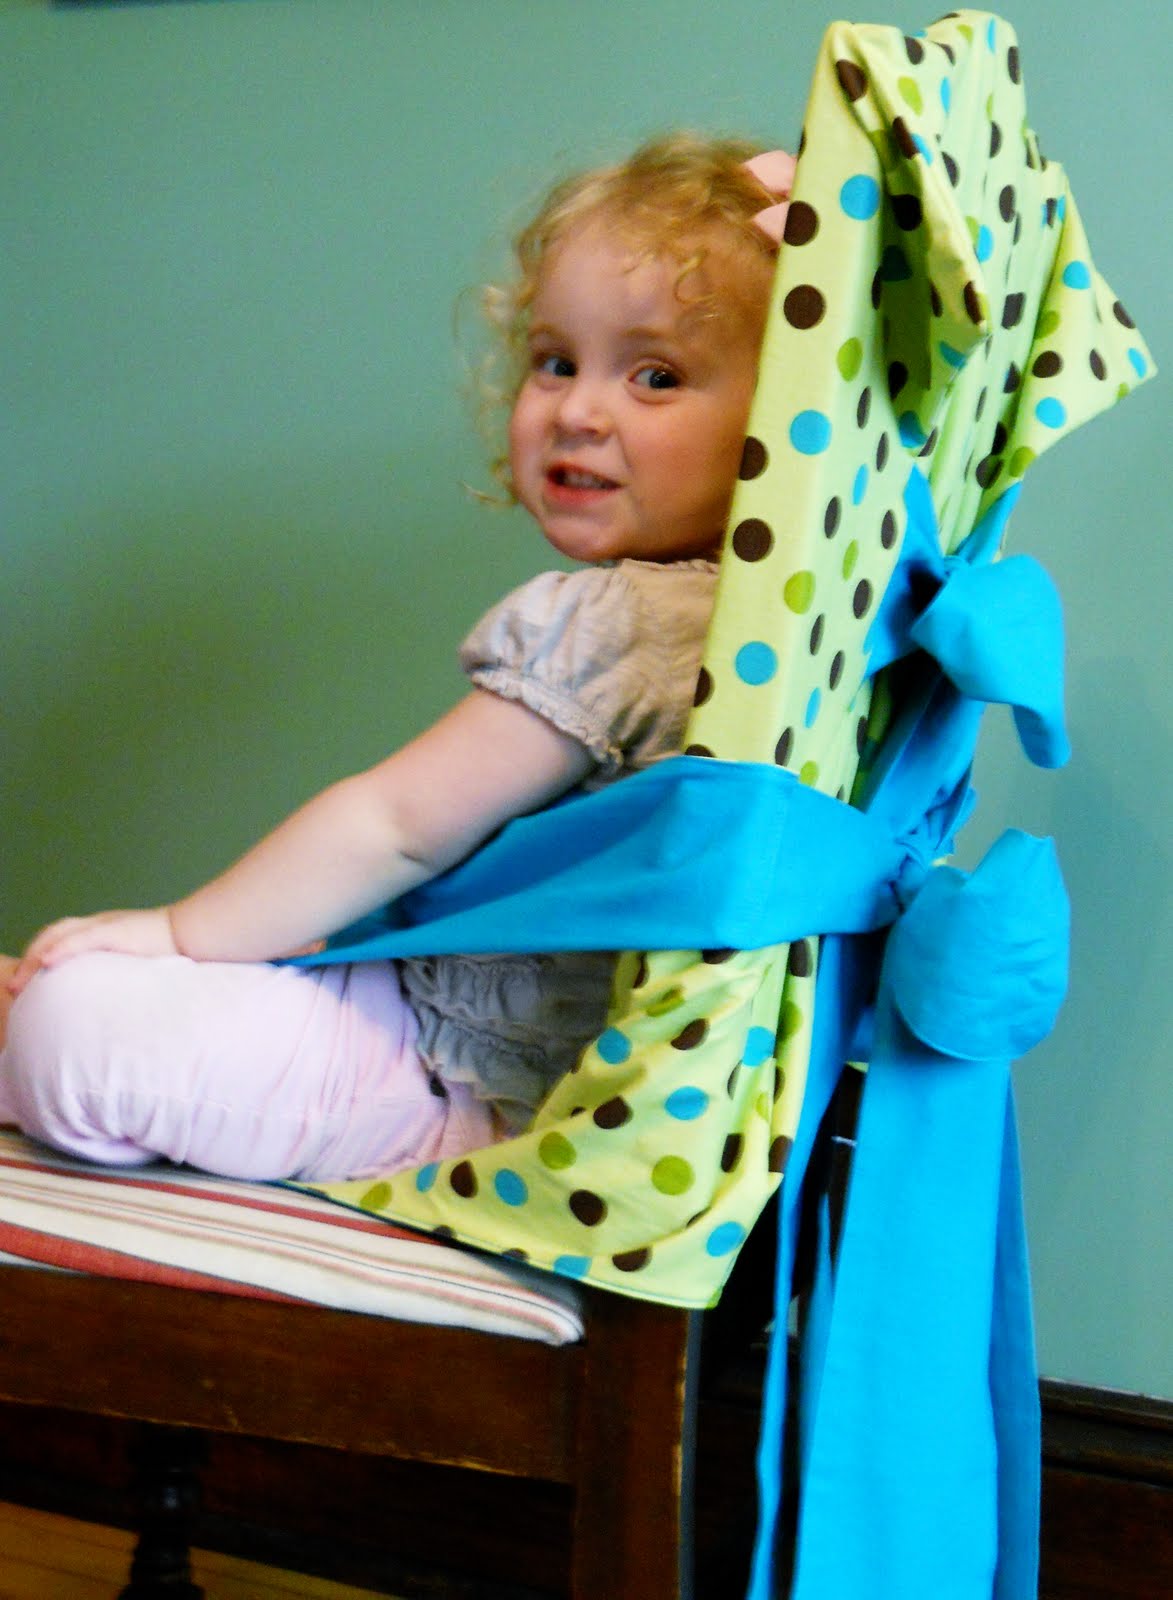
This is one of the projects I have been working on the past little while.  This is the second one I made (well, third if you count my half made test pattern!).  Charlotte has had a hard time waiting for her finished project.  When she saw that it was done, she jumped around clapping her hands. 

There have been several times over the last 8 years when I really needed a portable highchair.  Visiting the In-Laws, friends, church functions, etc...  When I realized that I could be without a highchair for up to 90 days when we move and we would be visiting family again  - I decided I had to have something and I had to have it now.  I saw pictures of a cute Tie Chair and so I came up with my own version.

I didn't have mine tie in front (even though I love the bow in front) because my kids spill so darn much, I figured it would get gunky after one use!


*******************************************************************************
For those How Did You? Requests

This is not a full tutorial,  I saw the idea and copied and don't want to take credit for creating this design.

These are my original notes, so hopefully it all works out.
Created with 1/2" seam allowances.

Cut 2 rectangles (I did one polka dot and one teal) 27 3/4" x37 1/4"
Cut 1 rectangle (polka dot, this creates the back pocket for the chair back to slip inside)27 3/4" x21 5/8"
For the ties, cut 8 at 5" x 44" 

Here is a rough sketch showing finished measurements.  Like I said - rough sketch.  Let me know if you have more questions.

 photo TieChair.jpg

**************************************

A second attempt at making this a tutorial.  There will be no step by step pictures.

Here are the pattern pieces, by dimension.  You will have to measure and cut the rectangles and grab a plate or bowl to get the leg cut-outs so you like them.

1.  cut out the pattern pieces according to measurement.  On the two large rectangles, you will cut out two semi-circles leaving 10 1/4" wide at the narrowest point.

2. Sew your ties.  Place two pieces right sides together.  Sew leaving one end open, you can choose to sew the one end at an angle - but it is optional.  Right side them out, work your corners to nice and pointy.  Iron and top stitch if you choose.

3.  Take the small rectangle and hem one edge (27 3/4").  Fold and press under a half inch, fold under another half inch (double folded).  Iron and top stitch.  

4.  Layer your rectangles, all three are going to be sandwiched together.  Lay your front down right side up, Place your ties and pin then.  Be sure to secure the loose ends or you might catch them while you are sewing everything together.  Then place your smaller rectangle (line up the un-hemmed 27 3/4" edge) right side down on top of your laid out pieces, on top will be the back side (mine was teal) right side down.  Pin the edges together.  (make sure your ties are not going to end up sewn down in the wrong places).

5.  Leave an opening so you can turn everything to the right side.  Turn everything to the right side.  Be sure you layer correctly so you don't have to unpick!!  Tuck and press in your raw edges at your opening and either hand sew closed or top-stitch all around for a nice finished look.

6.  Iron and tie it on!!

7.  If you have any further questions feel free to comment and I will try to answer them.  Try to be as specific as possible in your question.


Original posted on 5/13/10

Friday, August 19, 2011

Summer Sewing

Since summer is almost technically over - school starting, I thought I would show some of the summer sewing I did.  Charlotte was not too excited about modeling.

 Top and bottoms are Oliver and S patterns.  The bottoms are my all time favorite shorts.  They just released 3 new fall patterns.

 Since I didn't have enough buttons that matched, I dug through my stash and found 3 colors that went well with the fabric.  I really liked how they turned out.  I might have to try reversing the top one of these days.
 Another Lil Blue Boo recycle dress.  This is a combo of one of my shirts and one of Jason's.
 Oliver and S shorts again.  These are from the sleeves of the same shirt I used to make the Welcome Home Skirt.  There are not features from the shirt saved, just used the fabric.  They really looked too plain and I didn't have any ribbon on hand.  So, I embroidered some little bows and stitches to add some visual appeal.

Wednesday, June 15, 2011

Welcome Home Skirt


A long time ago (before dental school) Jason wore "Utilities" - Navy working uniform.  I loved all of his uniforms.  Since he no longer can wear this uniform, I re-purposed it. 

To make this skirt, I cut out two rectangles (1 front and 1 back) as wide as I could.  I added a waistband with elastic (so the buttons do not go all the way to the top).  Then I added ruffled navy grosgrain ribbon to the hem.  I really wanted you to see the pockets and the embroidered labels. I also wanted to keep the creases, there are the 2 in front and the 3 creases from the back of the shirt. 

I think this would be the perfect little skirt to wear to welcome home Daddy after a long deployment or for Charlotte to show off how patriotic she is.  Go Navy!!
(Not a happy helper)

Friday, June 10, 2011

He Loves Me Skirt

He love me... he loves me not... He Loves Me.


This skirt is made from an old polo of Jason's. 


1.  Cut off the bottom portion of a shirt, cut it the length you want the skirt to be, plus 1 1/8" for the elastic casing.
2.  Serge or zig-zag stitch the cut edge of your skirt to tidy up the edge (not necessary since knit doesn't ravel).
3.  Fold over 1 1/8inch and press. 
4.  Top stitch the casing closed, leave an opening for your elastic.
5.  Measure your child's waist and cut elastic to that measurement.  Thread through casing, overlap ends and stitch together.  Top stitch the opening closed. - Now you have a skirt.

To embellish.
1.  Cut out a zillion little hearts from remaining fabric.
2.  Start near the bottom of skirt and sew on a heart, I used a machine - but you could do it by hand.  
3.  Sew on more hearts bunching them close together and placing points together to make a flower.   I used 4-5 hearts to make a flower.
4.  Start randomly placing flowers on skirt to your liking.  Remember that you are adding weight so do not put them too close together or the skirt will start to sag.

EDIT:  Do not dry in the dryer.  I had to iron all of the petals back open:(.

Linked up at :  30 Handmade Days

Friday, April 8, 2011

Shoes and a Headband

Here are another pair of shoes I made for Tennyson.  I changed the shape of the heel and narrowed the shoe a little.  I like the fit better.  We will see if I can do the next pair even better!


I also tried a little headband.  The knit it was made from stretched out completely and I don't think it will ever return to its old size.  Oh, well.  It was cute for a few days.

Thursday, March 31, 2011

Random Ruffles Pillow Tutorial


1.  First you need to cut out your fabric.  For one pillow you will need:
        2 squares cut to the size of your pillow
        several bias strips 1" wide.
2.  To determine your pillow size if you are using a pillow form.  Measure you pillow form and cut your squares to this size or slightly smaller for a nice full pillow.

3.  To cut 1" bias strips you cut your fabric at a 45 degree angle to your selvage edge.  My ruler has this angle marked for easy cutting.  Fabric cut on the bias is does not fray and has a more stretch.


4.  Next you need to sew your bias strips together.  You place them right sides together and at a 90 degree angle.  You will sew them together on the line I have marked with a push pin.  (Sorry about this picture).


5.  Then you will press you seam open and trim any little bits that stick out.  Your joined bias tape should look like in the picture above.  Join several pieces together, you can always trim off any extra at the end.

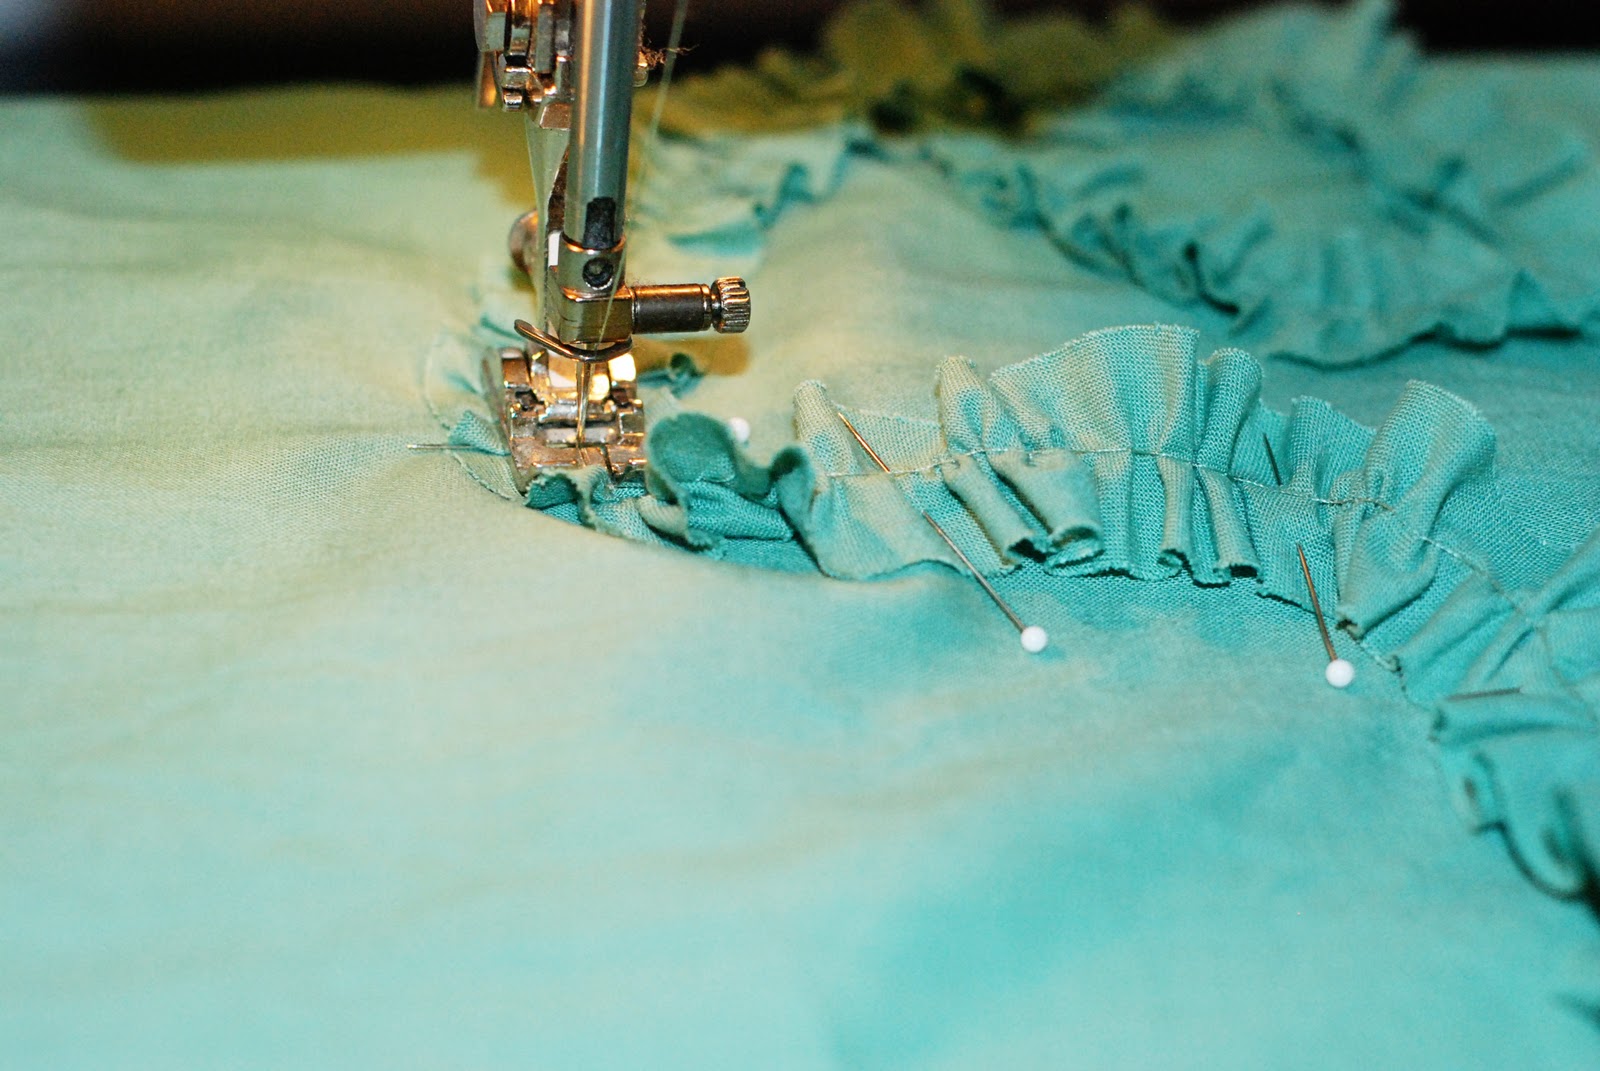
6.  Using the longest stitch on your sewing machine sew down the center of your bias strip.  A gathering thread.


 7.  Now you will pull one of the threads to create ruffles.  I like to pull from both ends, so if I have it too ruffly I will not be pushing ruffles off the thread (in case I need them later).


9.  Once you have your bias strip ruffled you will then take you pillow top and working on the right side you will start pinning the ruffle down randomly.  I did not want a loose end so I started mine off the edge.  If you are going to cross over your ruffles, like making a loop, then don't pin all of your ruffles down.  You could also draw or mark out your entire design.  I just went for it.


10.  Then you will top stitch your ruffle down by sewing down the middle (basically you will be stitching over top of your gathering thread).  When you are nearing the end of your pinned section of ruffles, leave your needle in the down position and start pinning some more.  ***After you are all sewn down, trim off any excess and REMOVE your gathering thread***


11.  After you have your ruffles all sewn down, you will pin you pillow back to your pillow front - right sides together.  I use pins to mark where I will be starting and stopping, so I will leave adequate space for my pillow form or stuffing (back stitch to ensure that it doesn't come apart as you fill it).
***I never like square corners on my pillows, they always look too pointy on the finished project.  To make rounded corners, grab a cup and mark your corners for a rounded look.***


12.  Trim your corners so they will look their best and then turn your pillow right side out. 

13.  Next you will slide your pillow form inside or stuff it.


14.  Now you will grab a needle and thread and hand sew your pillow closed.  You can always top stitch it closed if you prefer.

15.  Throw them on your bed or couch and enjoy.


Wednesday, March 30, 2011

Pillows

 BEFORE

I finally made pillows for our couch.  Ones that match my color scheme.  I was really lucky that I had pillows that matched the pillows that came with the couch or I would have had to do this much sooner.  So, maybe not lucky.

AFTER
 Now I need to do curtains, make more shoes, sew an Easter Dress (only 1), sew some more dresses for church and play, finish my skirt ....

If you like these, I will be posting a tutorial.  Not because I used any earth shattering new methods - but because when I see a project I want to do - I want the tutorial right there.

Tuesday, March 22, 2011

Tennysons First Shoes

For those that I have made baby shoes for, you are probably surprised that Tennyson is almost 6 months old and I have not made her a pair.  So I decided I had better fix that.  I made these cream colored ones really quick.  Now that I have a baby to wear them, I have already noticed some design changes that I need to make (those of you that had some from me - please tell me what you wished I would have done differently).

 I was in a hurry and hadn't turned these very good  - excuse the points and bumps.

Thursday, March 17, 2011

My first knit

This is what I did last night.
I finally bit the bullet and tried out some knit sewing.  For some reason knits strike fear into my heart.  Well - I think I am in love.  This recycle dress is perfect for getting dirty at the park or in our yard.  She can eat bright red popsicles and slide in orange clay dirt and I wont worry or freak out.  I used a pattern from LilBlueBoo.   This dress was once 2 of her Daddy's shirts. 

Tuesday, February 22, 2011

The Quilt - aka The Beast

It is finally all pieced together.  I hope to never do it again (but I will).  I hate it, I hope a little absence will make the heart grow fonder.  It is in the mail to get machine quilted and maybe when it gets back I will like it.  It is just too busy for me.  Maybe if I put some solid pillows on the bed and a solid aqua throw or something...  (share your solutions please).

All folded up because 63 squares is too much to take in.

Thursday, January 13, 2011

The Next Big Project

Here is a peak at what I will be busy trying to get done in between feedings and naps.

Photo courtesy of http://www.mccallsquilting.com/articles/Candy_Apple_Pinwheels

Friday, May 28, 2010

Maxi Dress Process

Can I call it a Maxi Dress?  It is not as full as most maxi dresses, when you have a protruding belly it makes it hard to see if the fit is going to work after the belly is gone.

The one thing I wanted this dress to do was to work after the baby is here, so that means nursing.  I needed front easy access!

I realized that a modest maxi dress was basically a Regency Era dress - think Jane Austin - Emma, Pride and Prejudice, etc...

So I found a book that documents some pieces from museums and gives you a graphed pattern, I had a pattern in my stash that had similar lines. 


I started with one, switched to the other, combined the two, fidgeted and fussed.  I made 6 different bodices, and 4 sleeves.   

I think every time I look at it I find something I would do different or needs tweaked.  I see why my Mom didn't like sewing for herself.

Thursday, May 27, 2010

Where I've Been


I disappeared on Monday morning of last week and finally emerged triumphant (or at least I hope so) today.  While Jason was out of town I decided to tackle a new project without him making me feel guilty because I have tunnel vision.  You can tell by how my sewing area looks, that it was a project!

About a month ago I tried on a maxi dress that I just loved.  The only problems were the price tag and that it was sleeveless.  It is a beautiful denim maxi dress by Theory. 


So what did I do, decided I had to have it anyway and I had to have it my way.  If anyone ever hears me talking about doing something like this again - tell me NO!


I need a better model!

Tuesday, May 11, 2010

The Fused Plast Project I Wanted to Do!

When I first saw fused plastic projects I wanted to make a bib (see previous post for links to fusing tutorials).  There are these one style of bibs that I LOVE!!!  They work, they actually catch crumbs, drips and spills.  The bib has a snap up pocket, best design ever.  Easy to clean!  The only problem is they get holes in the corners and are not cute at all. 

I once fused vinyl on to cute fabric and had a cute waterproof bib for awhile, but the vinyl got holes in it.  So I ripped off the vinyl and still use the fabric bib today and it is still cute and works.  Except when she spill chocolate milk - then it just soaks through.

The Starburst bib was easy to make, relatively cheap - but I don't think it will hold up any better than the other versions.  Holes to come in the corners.  So I think I will stick to fabric.