


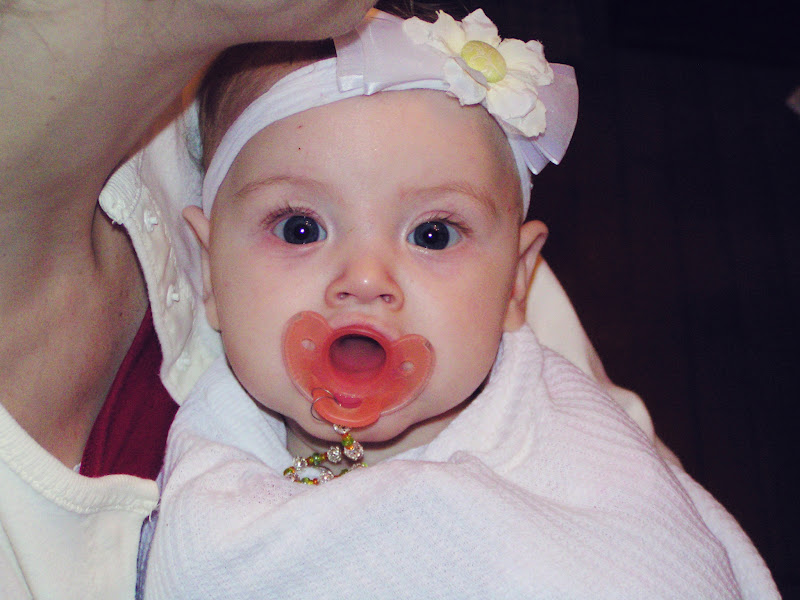


What do all of these pictures have in common? Pacifier Clips. I have had lots of interest in my pacifier clips and thought I would share how I made mine. WARNING: NEVER PUT A CHILD TO SLEEP WITH THIS CLIP. NEVER LEAVE A CHILD ALONE WITH BEADED CLIPS, SMALL PARTS, CHOKING HAZARD. THIS TUTORIAL IS PROVIDED FOR YOU PERSONAL USE AND YOU ARE RESPONSIBLE FOR ANY ITEMS YOU PRODUCE AND USE. These pacifier clips are decorative and can and do break. Charlotte and Tennyson have both used these, so over the past 4 years I have restrung a few times. Some survived for 4 plus years. I have a few tips to save you a few headaches.
Supplies:
Beads - whatever kind you like. I have used natural stone beads, plastic, and metal beads.
~10 inches Flexible Wire - mine has a diameter of 0.14 in (great for seed beads) and has a test strength of 10 lbs. The wire will break if yanked on hard enough and I want it to break if it is getting yanked on very hard.
Crimp Beads - to secure clasp and the end loop.
Clasp - I found mine at JoAnn's or Michaels
Crimping Pliers - Found in the jewelry supply section.
1. Design your pacifier clip, lay out your beads.

2. String your beads onto your wire. I don't usually cut min, until after I have the beads all strung.

More about the clasp. I found it at JoAnn Fabric or Michaels in the bead area with all the other jewelry supplies. I like it because it clips easily onto the neckline or collar of any outfit. It does not damage any of the clothing. I have had it clipped on velvet and it left no permanent mark. It is spring loaded, so I just push it onto the neckline until the fabric slips through.


3. Place two crimp beads on the wire and then the clasp. I use 2 beads because then if it breaks, I usually have at least 1 crimp bead remaining to keep the beads from going everywhere. (It usually breaks near the clasp or in the loop from attaching to the pacifier).

4. You will then thread the tail back through the crimp beads.

5. You will use the crimp bead pliers to crimp the bead. Securely attaching the clasp. The website Beading for Beginners shows you how to do this. If you have any other questions about beading, they would be a great tool to use. There are lots of tutorials out there on beading, this is the first one I came across to share. This is a picture of the pliers (courtesy of Amazon.com)

6. Now your clasp is attached, you can now cut your wire (if you haven't). Cut your wire leaving a 2-3" tail. You then place two more crimp beads on the wire. Create a loop by threading the tail back through the crimp beads and some back through the decorative beads. I like about an 1.5 inch loop.

7. Crimp the beads and you are done. Your finished clip should be about 7.5 inches long.
8. The last step is to thread the loop through a hole in your pacifier (the handle or little holes) and then thread the clasp end through the loop to secure it to the pacifier.
I am sure you could use larger beads - wood, metal or stone and make a great boy version. Again, please remember that they should never sleep with the clip or be left alone with it.


2 comments:
nice! I am thinking baby gifts!
Aww, man! Now I've gotta go and have another baby just so I can make these. Thanks for sharing.
Post a Comment